
How to Fix Wood Joints That Keep Coming Apart
Repairing Stubborn Wood Joints
Wood joints are the underestimated stars of furniture and woodworking projects. When they're doing their job, we barely notice them.
But when they start to fail, it can lead to wobbly chairs, unstable tables, and even safety hazards.
Understanding the Root Causes
To address the issue of repairing items, one should consider why wooden joints may deteriorate over time. Knowing this can assist in resolving present concerns and preventing future complications.
Wood Movement: The Silent Destroyer
Wood is a living material, even after it's been cut and shaped. It responds to changes in temperature and humidity by expanding and contracting. This movement is often the primary culprit behind joint failure.
✔️ Poor Initial Construction
Sometimes, the problem comes from how the joint was made in the first place. Common issues include:
Poorly fitted joints
Insufficient glue surface area
Using the wrong type of joint for the application.
These construction flaws can lead to weak joints that fail prematurely, even under normal use.
✔️ Wear and Tear
Good-quality connections can weaken over time due to wear and tear. Due to their craftsmanship, chairs are especially prone to joint issues because they bear the brunt of constant usage and pressure.
So, how do you fix those joints that keep falling apart?
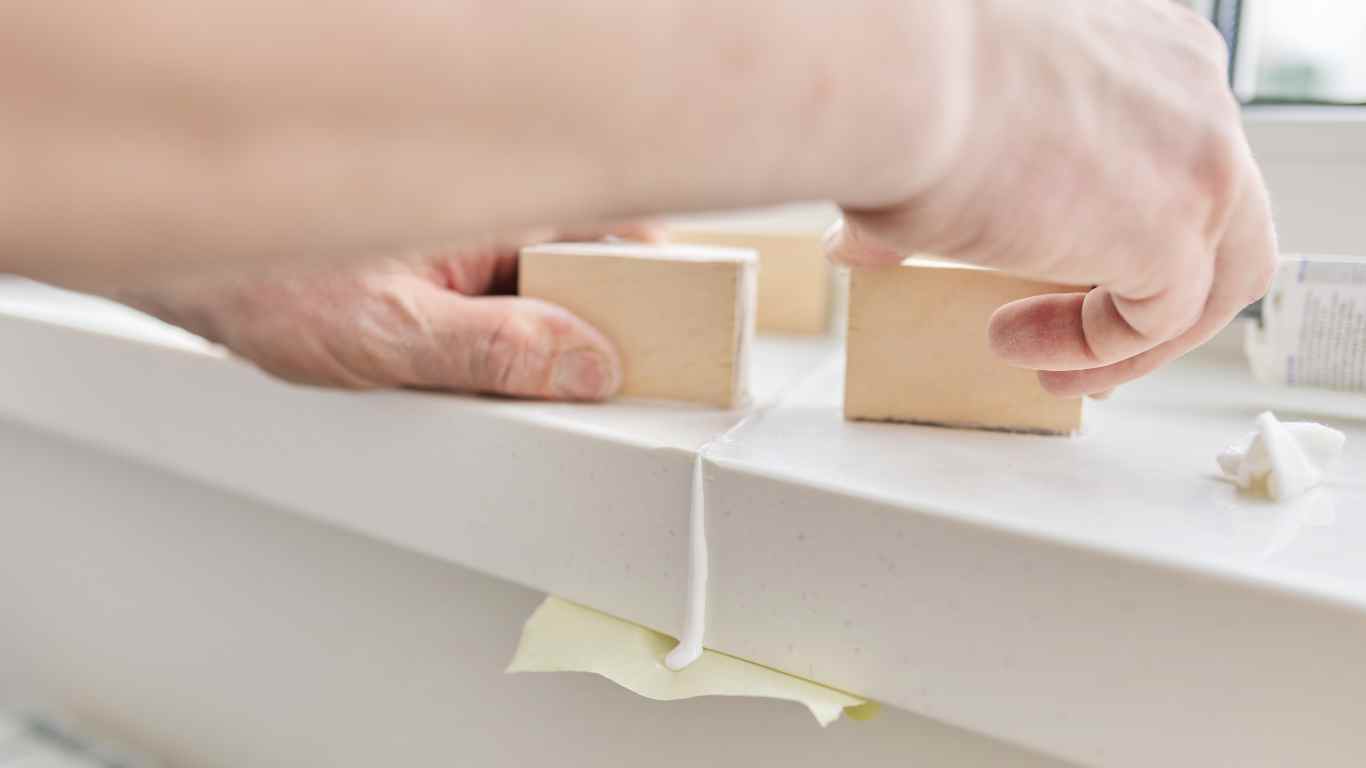
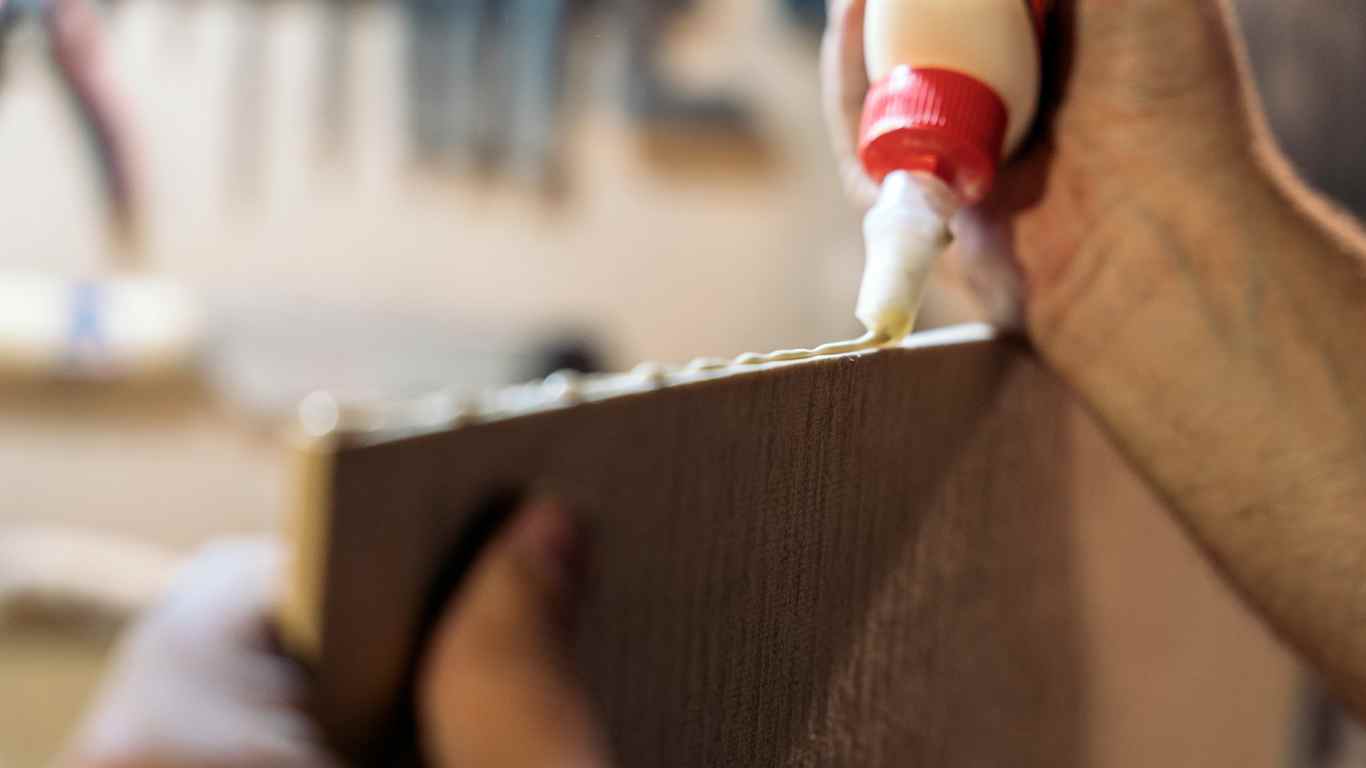
📌 Use an EPOXY
Epoxy can be very useful for joints with significant gaps or damage. Unlike traditional wood glues, epoxy can fill voids while providing exceptional strength.
Here's my step-by-step guide to using epoxy for joint repair:
Clean the joint thoroughly, removing all old glue and debris. I like using a small wire brush or dental pick for this. If possible, slightly roughen the surface to improve adhesion. A piece of 80-grit sandpaper works well for this.
Mix the epoxy according to the manufacturer's instructions. Be precise with your measurements to confirm proper curing.
Apply the epoxy to both surfaces of the joint. Use a small disposable brush or a popsicle stick for even application.
Clamp the joint tightly and allow it to cure fully. It usually takes 24 hours, but check the product instructions to be sure.
Pro Tip: For deep cracks or large voids, consider using a thickening agent with your epoxy to prevent it from running out of the joint. Wood flour or colloidal silica works well for this.
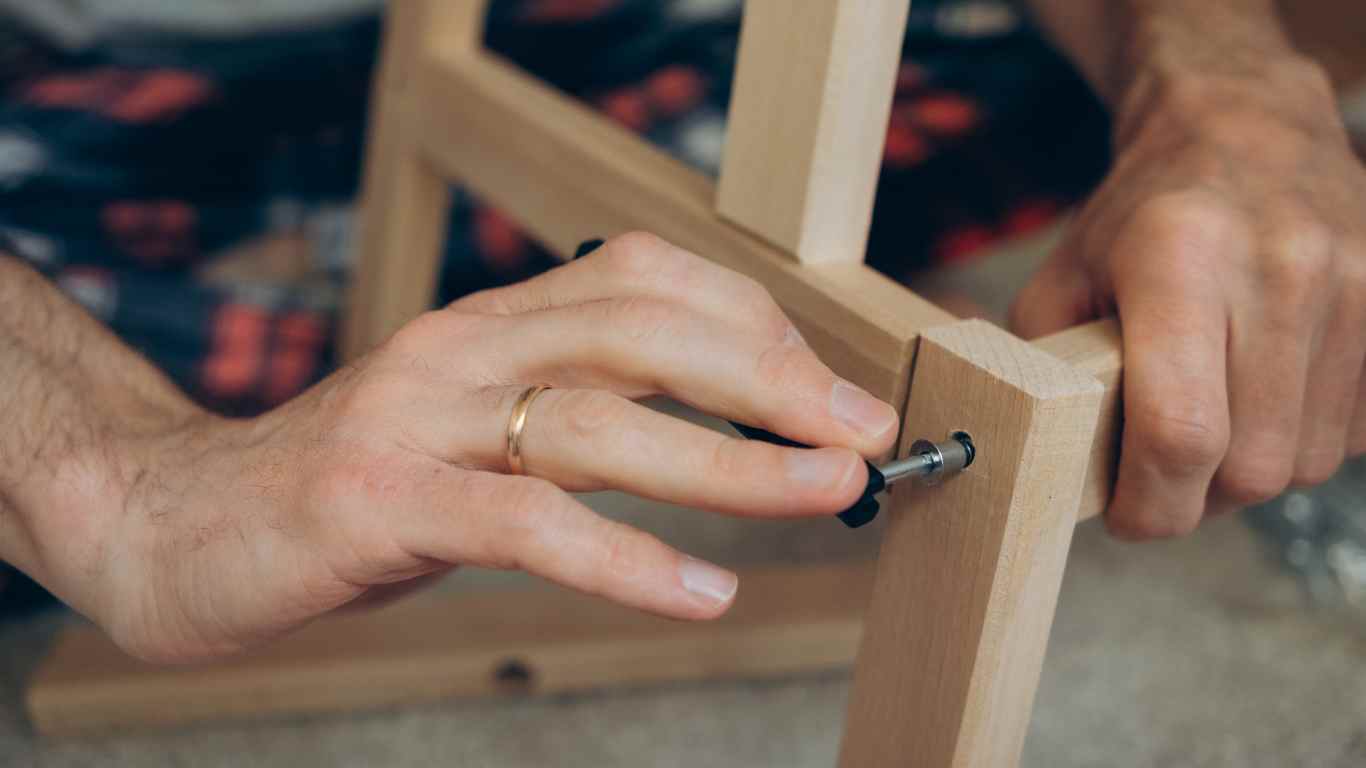
Sometimes, glue alone isn't enough. In these cases, mechanical reinforcement can provide the extra strength needed to keep joints secure.
📌 Dowel Reinforcement
Drilling and inserting dowels across a joint can significantly increase it's strength. Here's my method:
Disassemble the joint if possible.
Mark and drill holes for dowels in both pieces.
Use a drill press if you have one for the most accurate holes.
Apply glue to the holes and dowels.
I prefer a slow-setting glue for this to allow for adjustments.
Insert the dowels and reassemble the joint.
Clamp and allow to dry completely.
Leave it clamped for at least 24 hours.
📌 Spline Reinforcement
For joints like miters or butt joints, adding a spline can provide both strength and visual interest:
Cut a groove along the joint line on both pieces.
A router table is ideal for this, but a table saw with a thin-kerf blade can also work.
Create a spline that fits snugly in the groove.
I often use a contrasting wood species for a decorative touch.
Apply glue to the groove and spline.
Be generous with the glue, but avoid over-applying.
Insert the spline and clamp the joint.
Use cauls to distribute clamping pressure evenly.
Standard repairs failing?
Try these advanced joint techniques:
📌 The "Butterfly" Method
For long cracks or splits along a joint line, I often use a butterfly key (also called a Dutchman patch) to reinforce the area:
- Cut a butterfly-shaped recess across the crack using a router or chisel.
- Create a matching butterfly key from a contrasting wood species.
- Glue the key into place, ensuring it bridges the crack.
- Once dry, sand the key flush with the surrounding wood.
📌 Internal Reinforcement
For joints that can't be easily disassembled, I sometimes use internal reinforcement:
- Drill a series of small holes into the joint area.
- Inject epoxy or liquid hide glue into the holes.
- Insert thin bamboo skewers or toothpicks into the holes.
- Once dry, trim the skewers, flush and refinish the area.
This method adds strength without visible external changes.
📌 Vacuum Bagging for Complex Shapes
When dealing with curved or irregularly shaped joints, traditional clamping can be challenging. In these cases, I turn to vacuum bagging:
- Apply glue to the joint as usual.
- Place the piece in a specially designed plastic bag.
- Use a vacuum pump to remove air from the bag, creating even pressure across the entire surface.
- Allow the glue to cure fully before removing it from the bag.
This technique ensures even clamping pressure on even the most complex shapes.
Dealing with Antiques and Valuable Pieces
When working with antiques or particularly valuable pieces, preservation becomes as important as repair. In these cases, less invasive techniques may be preferable.
Hide Glue Reactivation
Many antique pieces were originally assembled using hide glue, which can be reactivated with heat and moisture. Here's a technique I've used successfully:
- Clean the joint area gently.
- Use a soft brush to remove dust and debris.
- Apply a small amount of water to the joint.
- A damp cloth or sponge works well for this.
- Use a hot iron to heat the area, which will reactivate the old glue.
- Be careful not to scorch the wood.
- Clamp the joint and allow it to cool and dry completely.
This can take several hours.
This method preserves the original construction while restoring the joint's integrity.
Reversible Repairs
For valuable antiques, it's often best to use repair methods that can be undone if needed.
Here are some techniques I've used:
- Mechanical fasteners: Small screws or bolts can be used to reinforce joints without permanent alteration.
- Removable splines: Create splines that fit tightly but aren't glued in place.
- External braces: Custom-made metal or wood braces can support weak joints without altering the original piece.
Preventing Future Failures
As the saying goes, an ounce of prevention is worth a pound of cure. Here are some strategies to keep your wood joints strong for years to come:
Design with Wood Movement in Mind
When creating new pieces or repairing old ones, always consider how the wood will move over time. Use floating panels in frame-and-panel construction to allow for expansion and contraction.
Mortise and tenon joints are excellent for frame construction, such as chairs and tables.
- Dovetails excel in box making and drawer construction.
- Finger joints provide good strength for box corners and can be decorative.
- Bridle joints offer strength and visual appeal for frame corners.
Maintain Consistent Humidity Levels
I recommend using a dehumidifier or humidifier to maintain indoor humidity around 40-50%.
Troubleshooting Common Issues
Even with the best techniques, sometimes things don't go as planned.
Here are some common issues I've encountered and how to address them:
Glue Squeeze-Out
Excess glue squeezing out of a joint can be unsightly and interfere with finishing. To prevent this:
- Use just enough glue to cover the joint surfaces.
- Have a damp cloth ready to wipe away excess immediately.
- For hard-to-reach areas, let the glue partially set and then remove it with a chisel.
Misaligned Joints
If you discover a joint is misaligned after the glue has started to set:
- Quickly disassemble if possible and clean off the wet glue.
- If it's too late for that, you may need to let it dry completely and then re-cut the joint.
- For slight misalignments, sometimes careful sanding or planing can fix the issue.
Glue Failure
If a glued joint fails shortly after repair:
- Check that you used the suitable glue for the job.
- Ensure all old glue and finish was removed before the new application.
- Verify that you allowed sufficient clamping time and pressure.
So you now know how to troubleshoot and prevent future failures, what's Next?
Get Hyped with our FREE easy-to-follow plan, complete with step-by-step instructions, photos, material lists, and more for!
People Also Asked
👉 How do you fix a loose mortise and tenon joint?
To fix a loose mortise and tenon joint, first clean out any old glue or debris. If the tenon is too small, you can build it up by gluing thin wood shims to its sides.
For a slightly loose fit, wrapping the tenon in veneer can work well.
Apply wood glue to both the mortise and tenon, then clamp firmly until dry.
👉 What's the strongest wood glue for joint repair?
The strongest wood glue for most joint repairs is typically a high-quality polyurethane glue or a two-part epoxy. These adhesives create very strong bonds and can fill small gaps.
However, traditional PVA wood glue is often sufficient for many repairs and is easier to work with.
👉 Can you use screws to reinforce a failing wood joint?
Yes, screws can be used to reinforce a failing wood joint, but it's important to do so carefully. Pre-drill holes to prevent splitting, and choose screws of a suitable length.
In visible areas, you can countersink the screws and cover them with wood plugs for a neater appearance.
👉 How do you fix a chair leg that keeps coming loose?
To fix a chair leg that keeps coming loose, first disassemble the joint if possible. Clean out old glue, then re-glue using a strong wood adhesive.
For added strength, you can drill through the joint and insert a dowel or two.
Clamp firmly and allow to dry completely before using the chair.
👉 What causes wood joints to fail over time?
Wood joints can fail over time because of several factors: changes in humidity causing wood movement, stress from regular use, poor initial construction, or degradation of the glue. Regular maintenance and keeping furniture in a stable environment can help prevent joint failure.
👉 Is it possible to repair antique furniture without damaging its value?
Yes, it's possible to repair antique furniture while preserving its value, but it needs careful consideration. Use reversible techniques when possible, and avoid altering original finishes or materials unnecessarily.
👉 How often should wooden furniture joints be checked and maintained?
For most wooden furniture, checking joints once a year is sufficient. However, pieces that see heavy use, like dining chairs, should be inspected more often - perhaps every 3-6 months.
Tighten any loose joints promptly to prevent further damage.
👉 Can temperature changes affect wood joints?
Yes, temperature changes can affect wood joints, primarily by influencing humidity levels. As temperatures fluctuate, wood can expand or contract, putting stress on joints.
Maintaining a consistent indoor climate can help minimize these effects.
👉 What's the best way to prevent wood joints from failing in the first place?
The best way to prevent wood joint failure is through proper initial construction. This includes using suitable joinery techniques, allowing for wood movement in the design, using quality adhesives, and finishing all surfaces to minimize moisture exchange.
Regular maintenance also plays a key role in preventing joint failure.
👉 How do you know when a wood joint is beyond repair?
A wood joint may be beyond repair if there's significant wood damage around the joint, such as splitting or rot. If many repair tries have failed, or if repairing the joint would compromise the structural integrity of the piece, it might be time to consider replacing the affected parts entirely.
Discover the Ted's Difference!
Unlock instant access to 16,000 diverse project plans... all for less than a dinner out!
Hurry—our launch offer ends soon!

Key Takeaways
📌 Understanding wood movement is crucial for diagnosing and preventing joint failures.
📌 Advanced techniques like epoxy filling and mechanical reinforcement can solve stubborn joint issues.
📌 When working with antiques, prioritize preservation alongside repair.
📌Proper design and maintenance can prevent many joint failures before they occur.
📌 Regular practice with various repair techniques will build your skills and confidence in tackling any wood joint challenge
Copyright @ 2024 New Vision Enterprises, Inc . All rights reserved
Always take necessary precautions when engaging in woodworking activities to ensure safety. Please adhere to the instructions and warnings on the labels of all ingredients and supplies recommended. Exercise sound judgment regarding age-appropriateness and refrain from allowing children to engage in activities involving small components that could pose a choking hazard or tools or woodworking materials that could injure a child in some way.
Please be aware that the content on this website is intended for entertainment purposes only and does not constitute medical, legal, or professional advice.
New Vision Enterprises, Inc disclaims any responsibility for any damages, accidents or injuries arising from participating in any activities on this website.
